What is headless mode?
Well the easiest way to describe it is simply by imagining using your Raspberry Pi with nothing connected, no keyboard, mouse or monitor, only power is required. We can still control the Raspberry Pi over a network connection and SSH so this solution is perfect for a minimal Raspberry Pi Setup. Say you wanted to set up a remote monitoring station for weather for example, you wouldn’t want to have to use a keyboard and monitor to get things going so this setup is ideal for those sorts of applications. We will be using a version of Raspberry Pi OS which leaves out the GUI environment meaning it performs very well on the Raspberry Pi Zero 2 W.
What Do You Need?
We don’t need much but here is a list:
- Micro SD Card (at least 8GB)
- Micro SD Card Reader
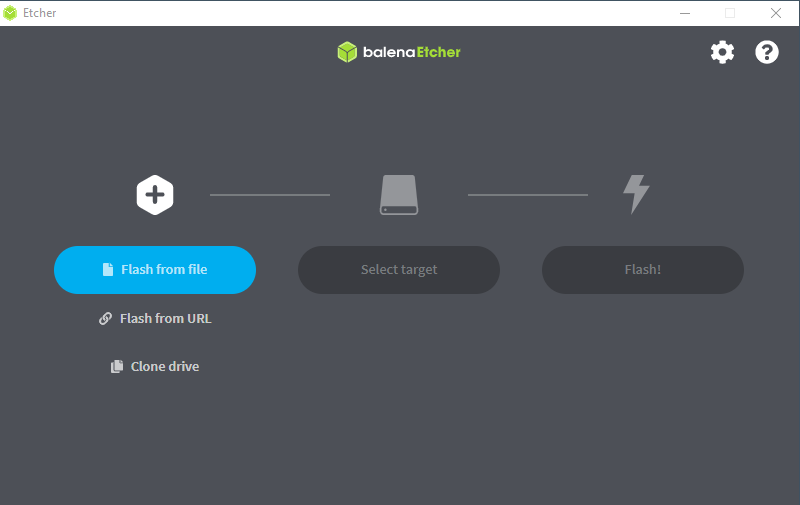
- balenaEtcher or similar (available here)
- Raspberry Pi OS Lite image (available here)
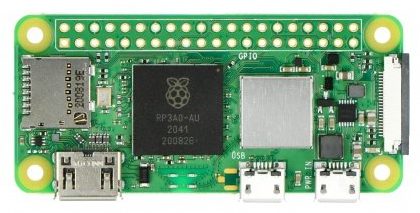
- Raspberry Pi Zero 2 W (or other Raspberry Pi)
Installing OS onto SD Card
Connect your micro SD card to your PC and open balenaEtcher. Select the OS image you just downloaded then select the micro SD card as the target and hit flash!
Post-Image Configuring
Once you have burned the OS image to the drive we need to open the boot drive. Windows sometimes has a bit of a problem trying to load this immediately after writing the image to the SD card so I simply unplug and plug it back in and we can now access the boot drive. In this folder we need to create two configuration files which will tell the Pi what to do when it is booting up. We need to connect to our WiFi network and to enable SSH which is disabled by default. First let’s get it set up to connect to our WiFi. Open a notepad editor and copy and paste the following code:
country=GB
ctrl_interface=DIR=/var/run/wpa_supplicant GROUP=netdev
update_config=1

network={
	scan_ssid=1
	ssid="WIFI_SSID"
	psk="WIFI_PASS"
}
We need to change 3 things, the country, WiFi SSID and password. For your specific country code, a list can be found here under the ISO 3166 column. Change WIFI_SSID with your actual WiFi SSID and do the same with your password, keep the quotation marks.
This file should be saved as wpa_supplicant.conf – make sure you set the “Save as type” to all files.
Then we need to enable SSH. This is much more straightforward. In the boot drive simply create a new text file named SSH by right clicking then new then text file. Call it ssh with no extension. This file should be empty. And now we are ready to install the card in the Raspberry Pi.

First Boot
Connect your power source to the Pi and give it a few minutes to boot up. As this is a first boot it may take a little more time than usual.
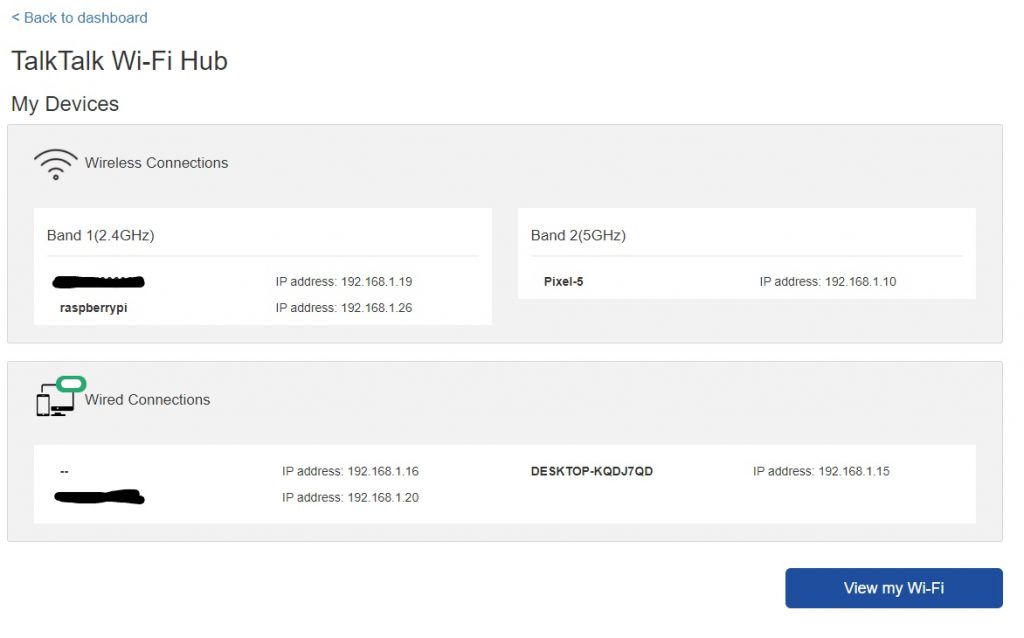
Now we need to find the IP address of the Raspberry Pi. There are a few ways to do this, I simply open my router settings and see which devices are connected. The instructions will differ depending on your router but they are normally provided on the back of your router. I can see that my Pi has been given the IP address of 192.168.1.26.
We can then open a terminal to SSH into the pi. I use Putty but it doesn’t matter too much what you use. Enter the Pi’s Ip address and hit open. You may get a warning but you can proceed through this. Then you are greeted with a login. The default username and password is Pi and raspberry. Which of course I misspell when trying to demonstrate. But the first thing you should do is change the password. You can do this by simply type passwd and entering your previous password followed by a new secure one. This should be the first thing you do.
On a new install it is sensible to update everything. You can do this by running the following commands:
sudo apt updatesudo apt upgradeAs a final task I like to assign my Pi a static IP address. This is done by editing the DCHPCD configuration file. Edit this file with the following command:
sudo nano /etc/dhcpcd.confUncomment the static IP line and change the IP address to something you want.
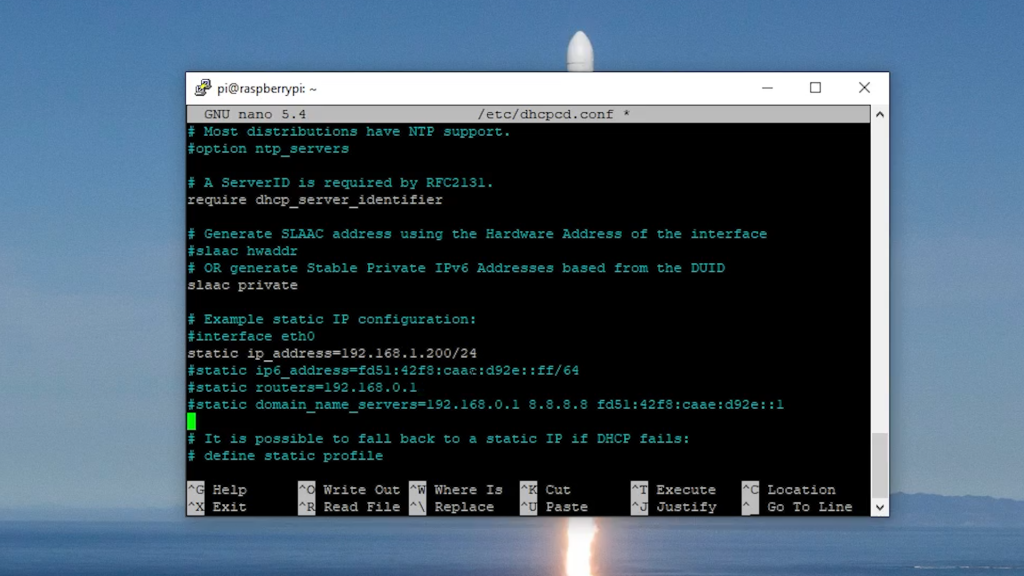
I am going to use 192.168.1.200 which is outside of the IP range dynamically allocated by my router and I typically write this on a post-it note on the back of the Pi. Keep the slash 24 after the IP address. Then hit control X then y then enter. Now reboot your pi using:
sudo rebootAfter a minute or so you can reconnect using putty and your new IP address and log in with your new password. Your raspberry pi is now all configured in headless mode!
You are the best…
Any clue why 64-bits OS I test like Debian arm64 ou ubuntu 21.10 arm64 didn’t worked ?
Thanks
You didn’t explain where to save the wpa_supplicant.conf file
after doing same steps as you, i cant connect to rpi via ssh, i mean, i’m rejected due to wrong user or pass, not sure. it says acces denied. i assume th Pi/raspberry user/password as default but no succes. any idea?
thanks and greetings from spain.